
An Attempt: Rear Brake Replacement on the Surly Pack Rat
I am still 90% clueless about bicycle mechanics and maintenance, so the first step in my attempt to replace the brake and shifter cables on my bikes began with a simple Google search: “is there a difference between brake cables and gear cables on bicycles”. As it turns out, there is, the main one being the thickness of the brake cables compared to gear cables, which makes sense, given what we expect our brakes to do. In doing this research, I also found that there is a difference between the heads on the brake cables for bicycles with drop bars versus ones with flat bars.
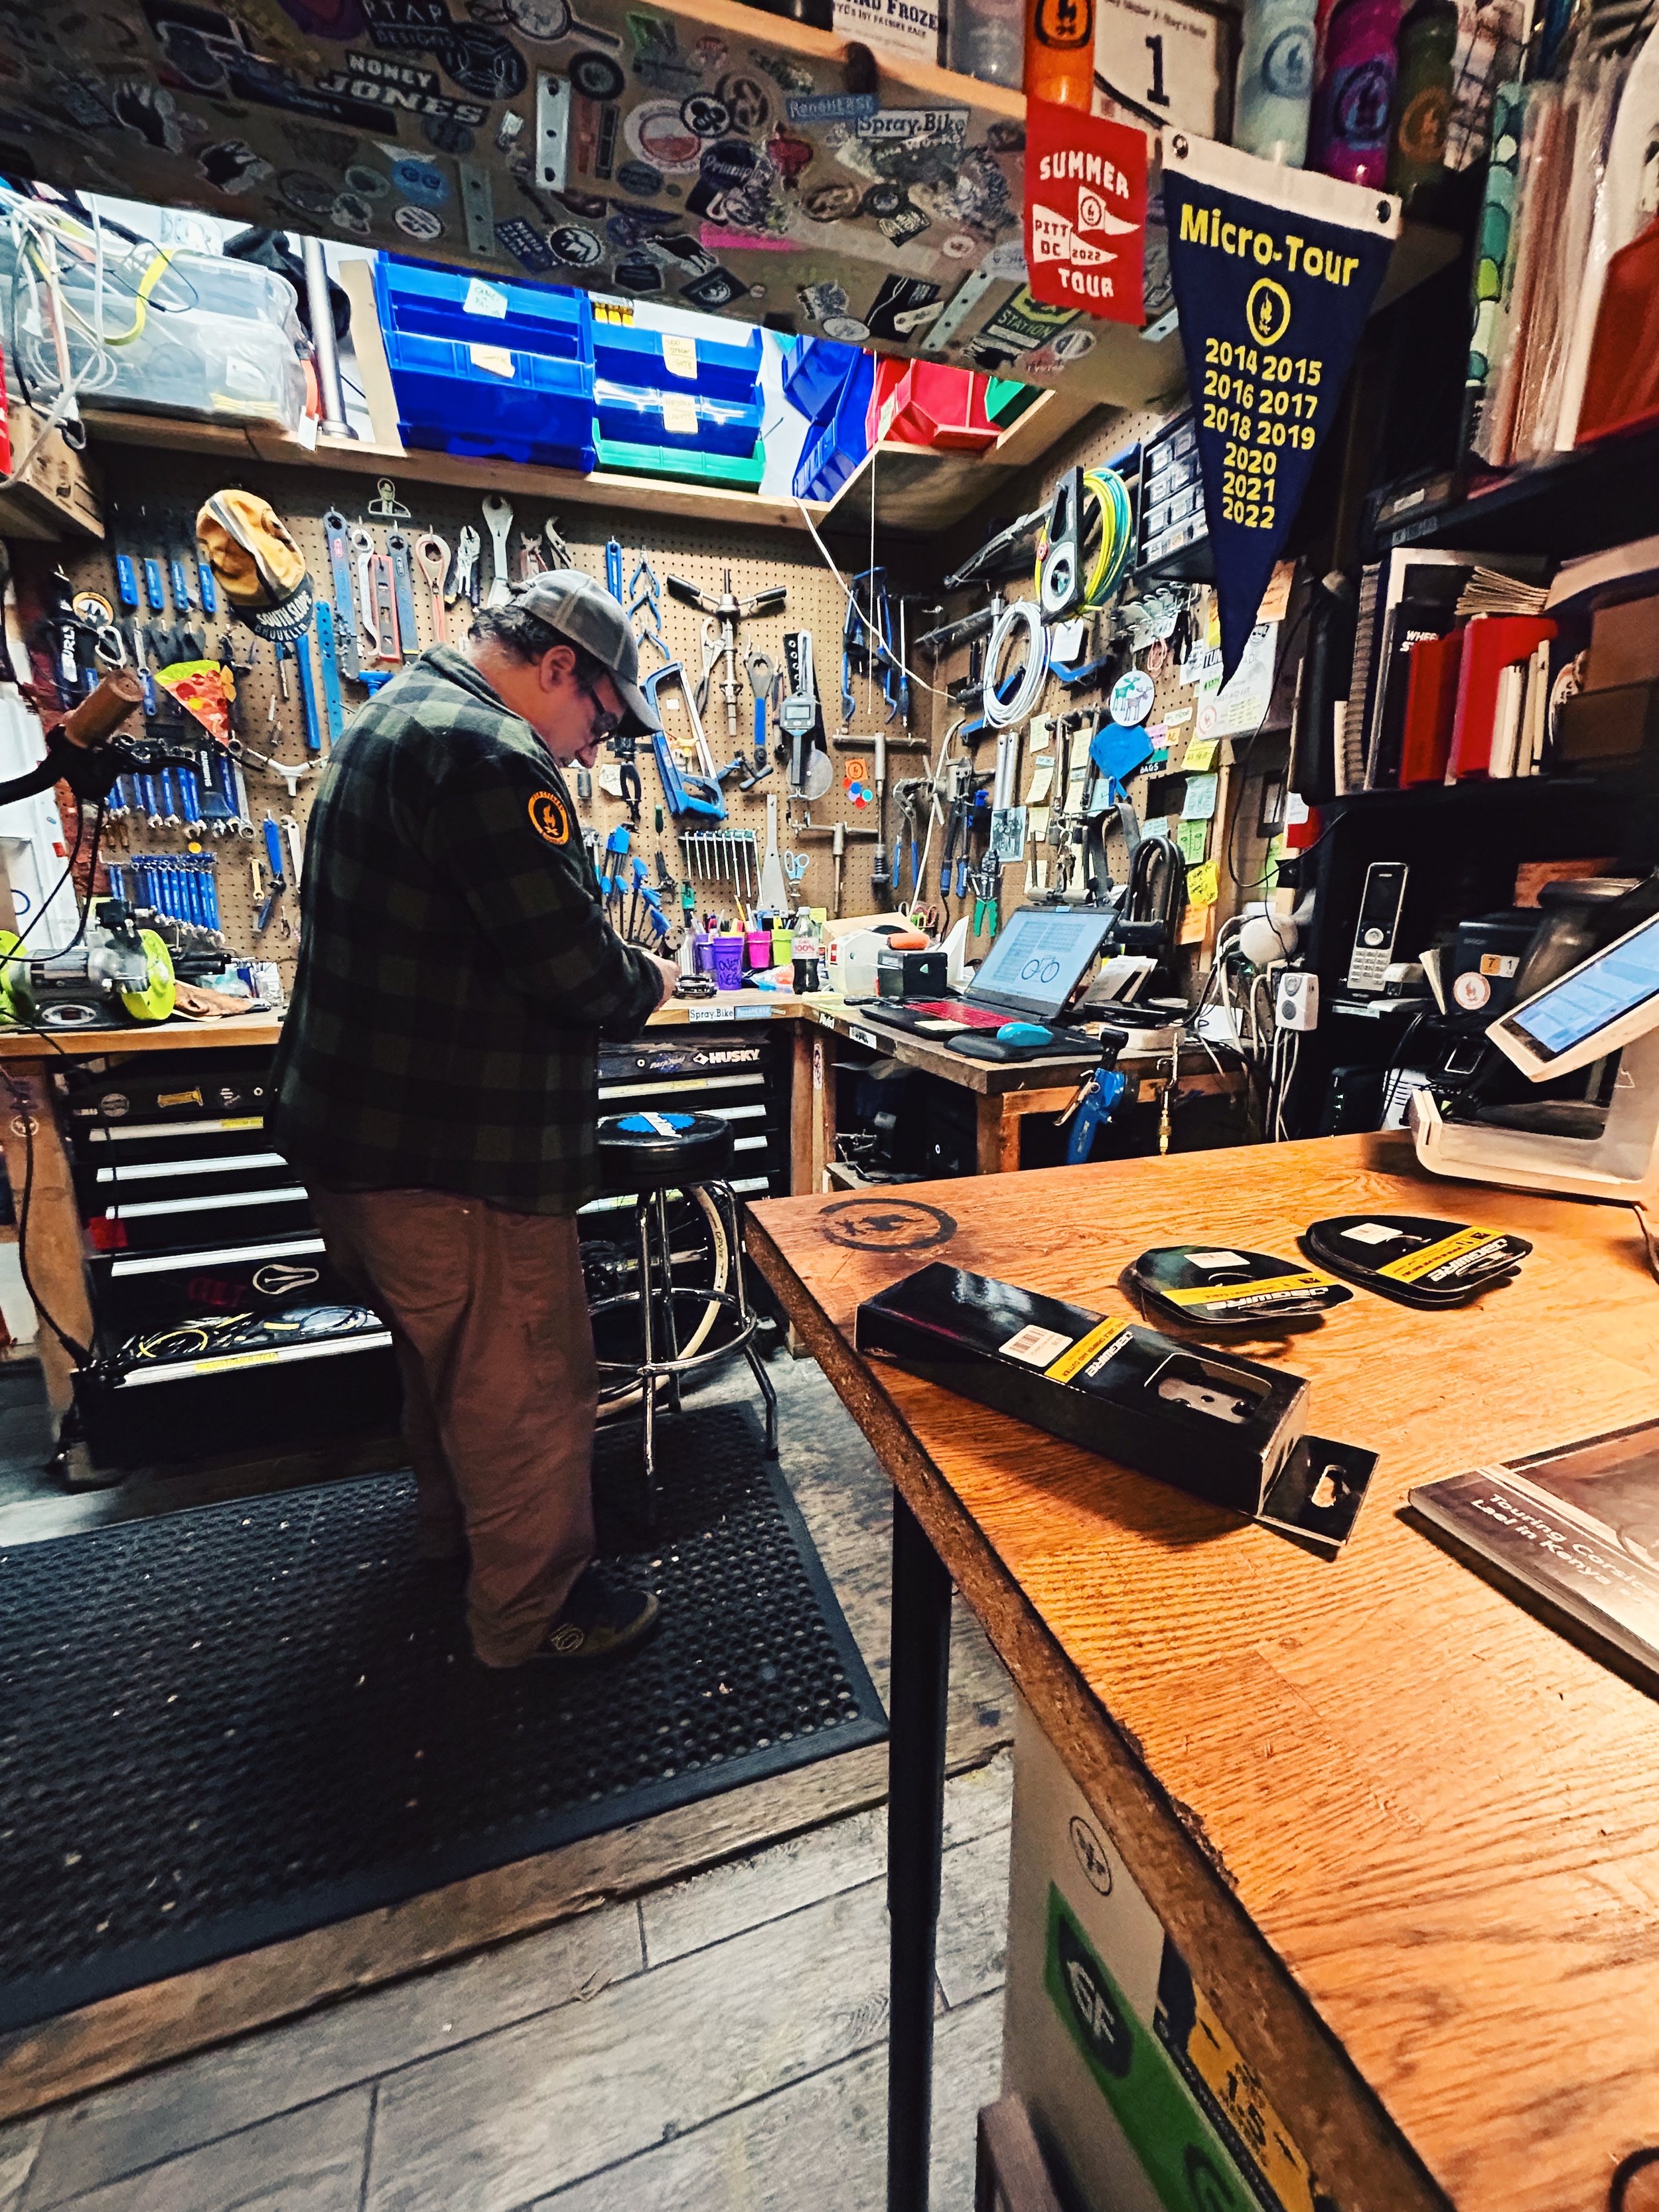
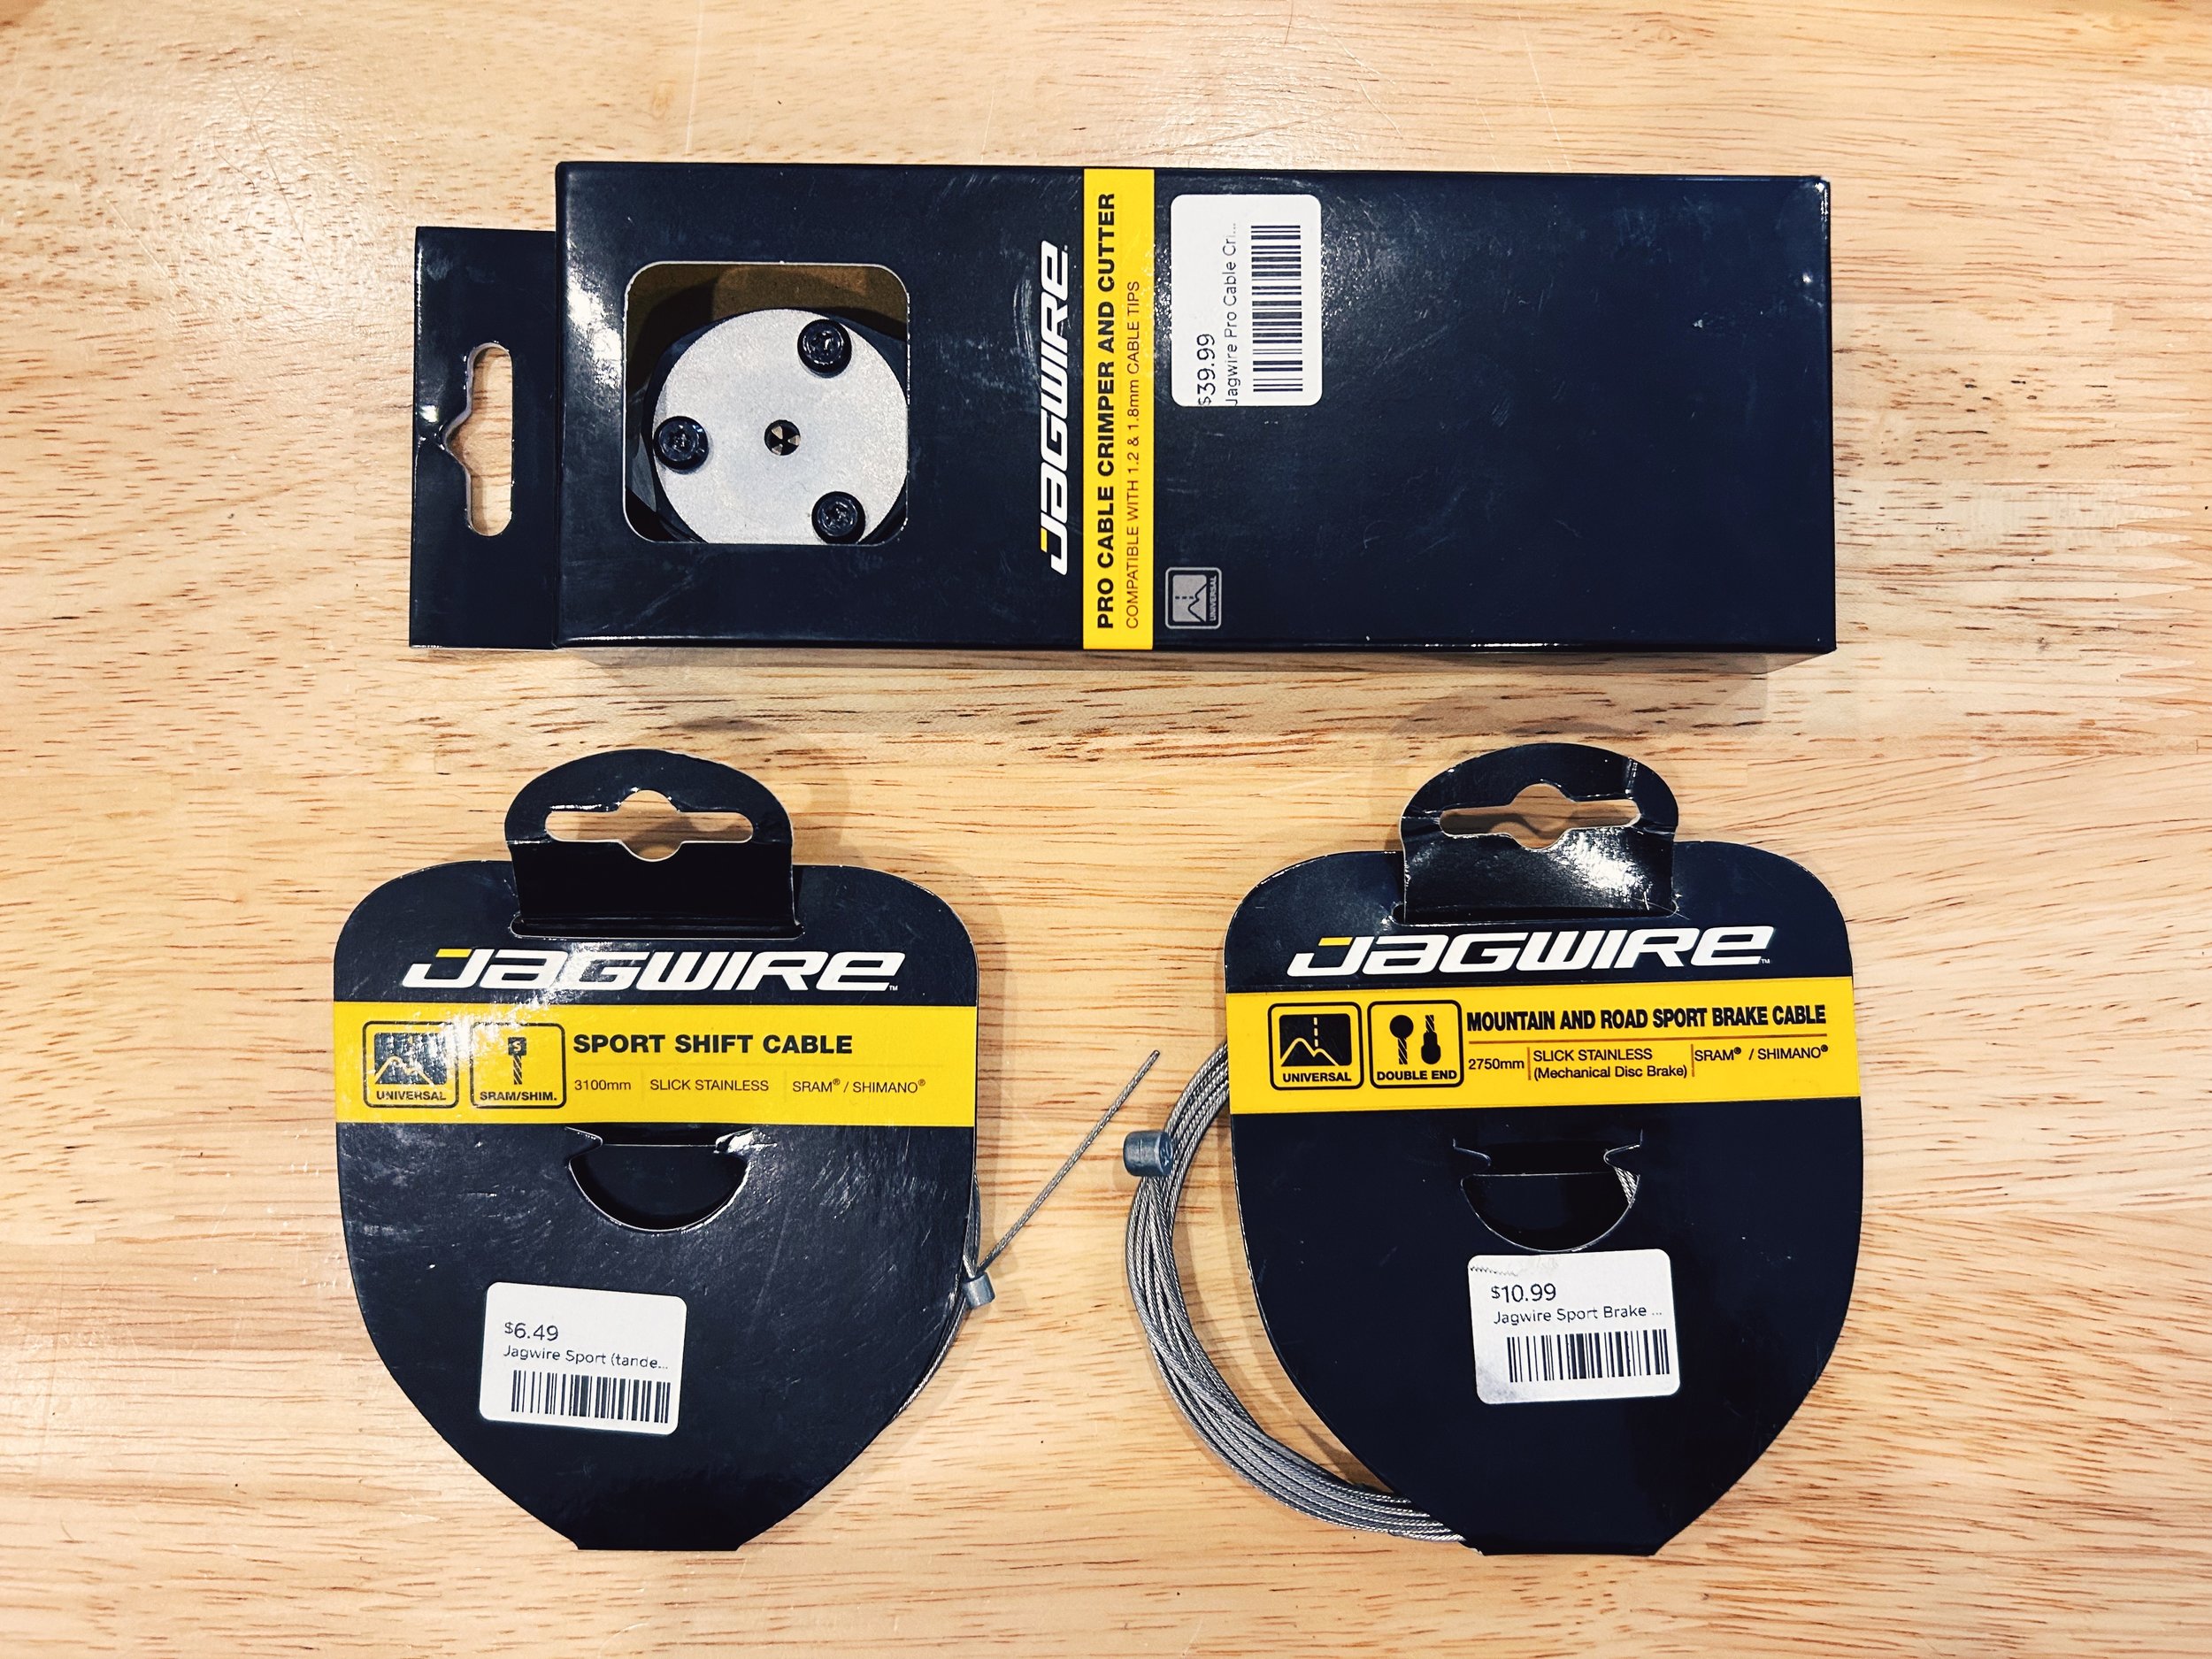
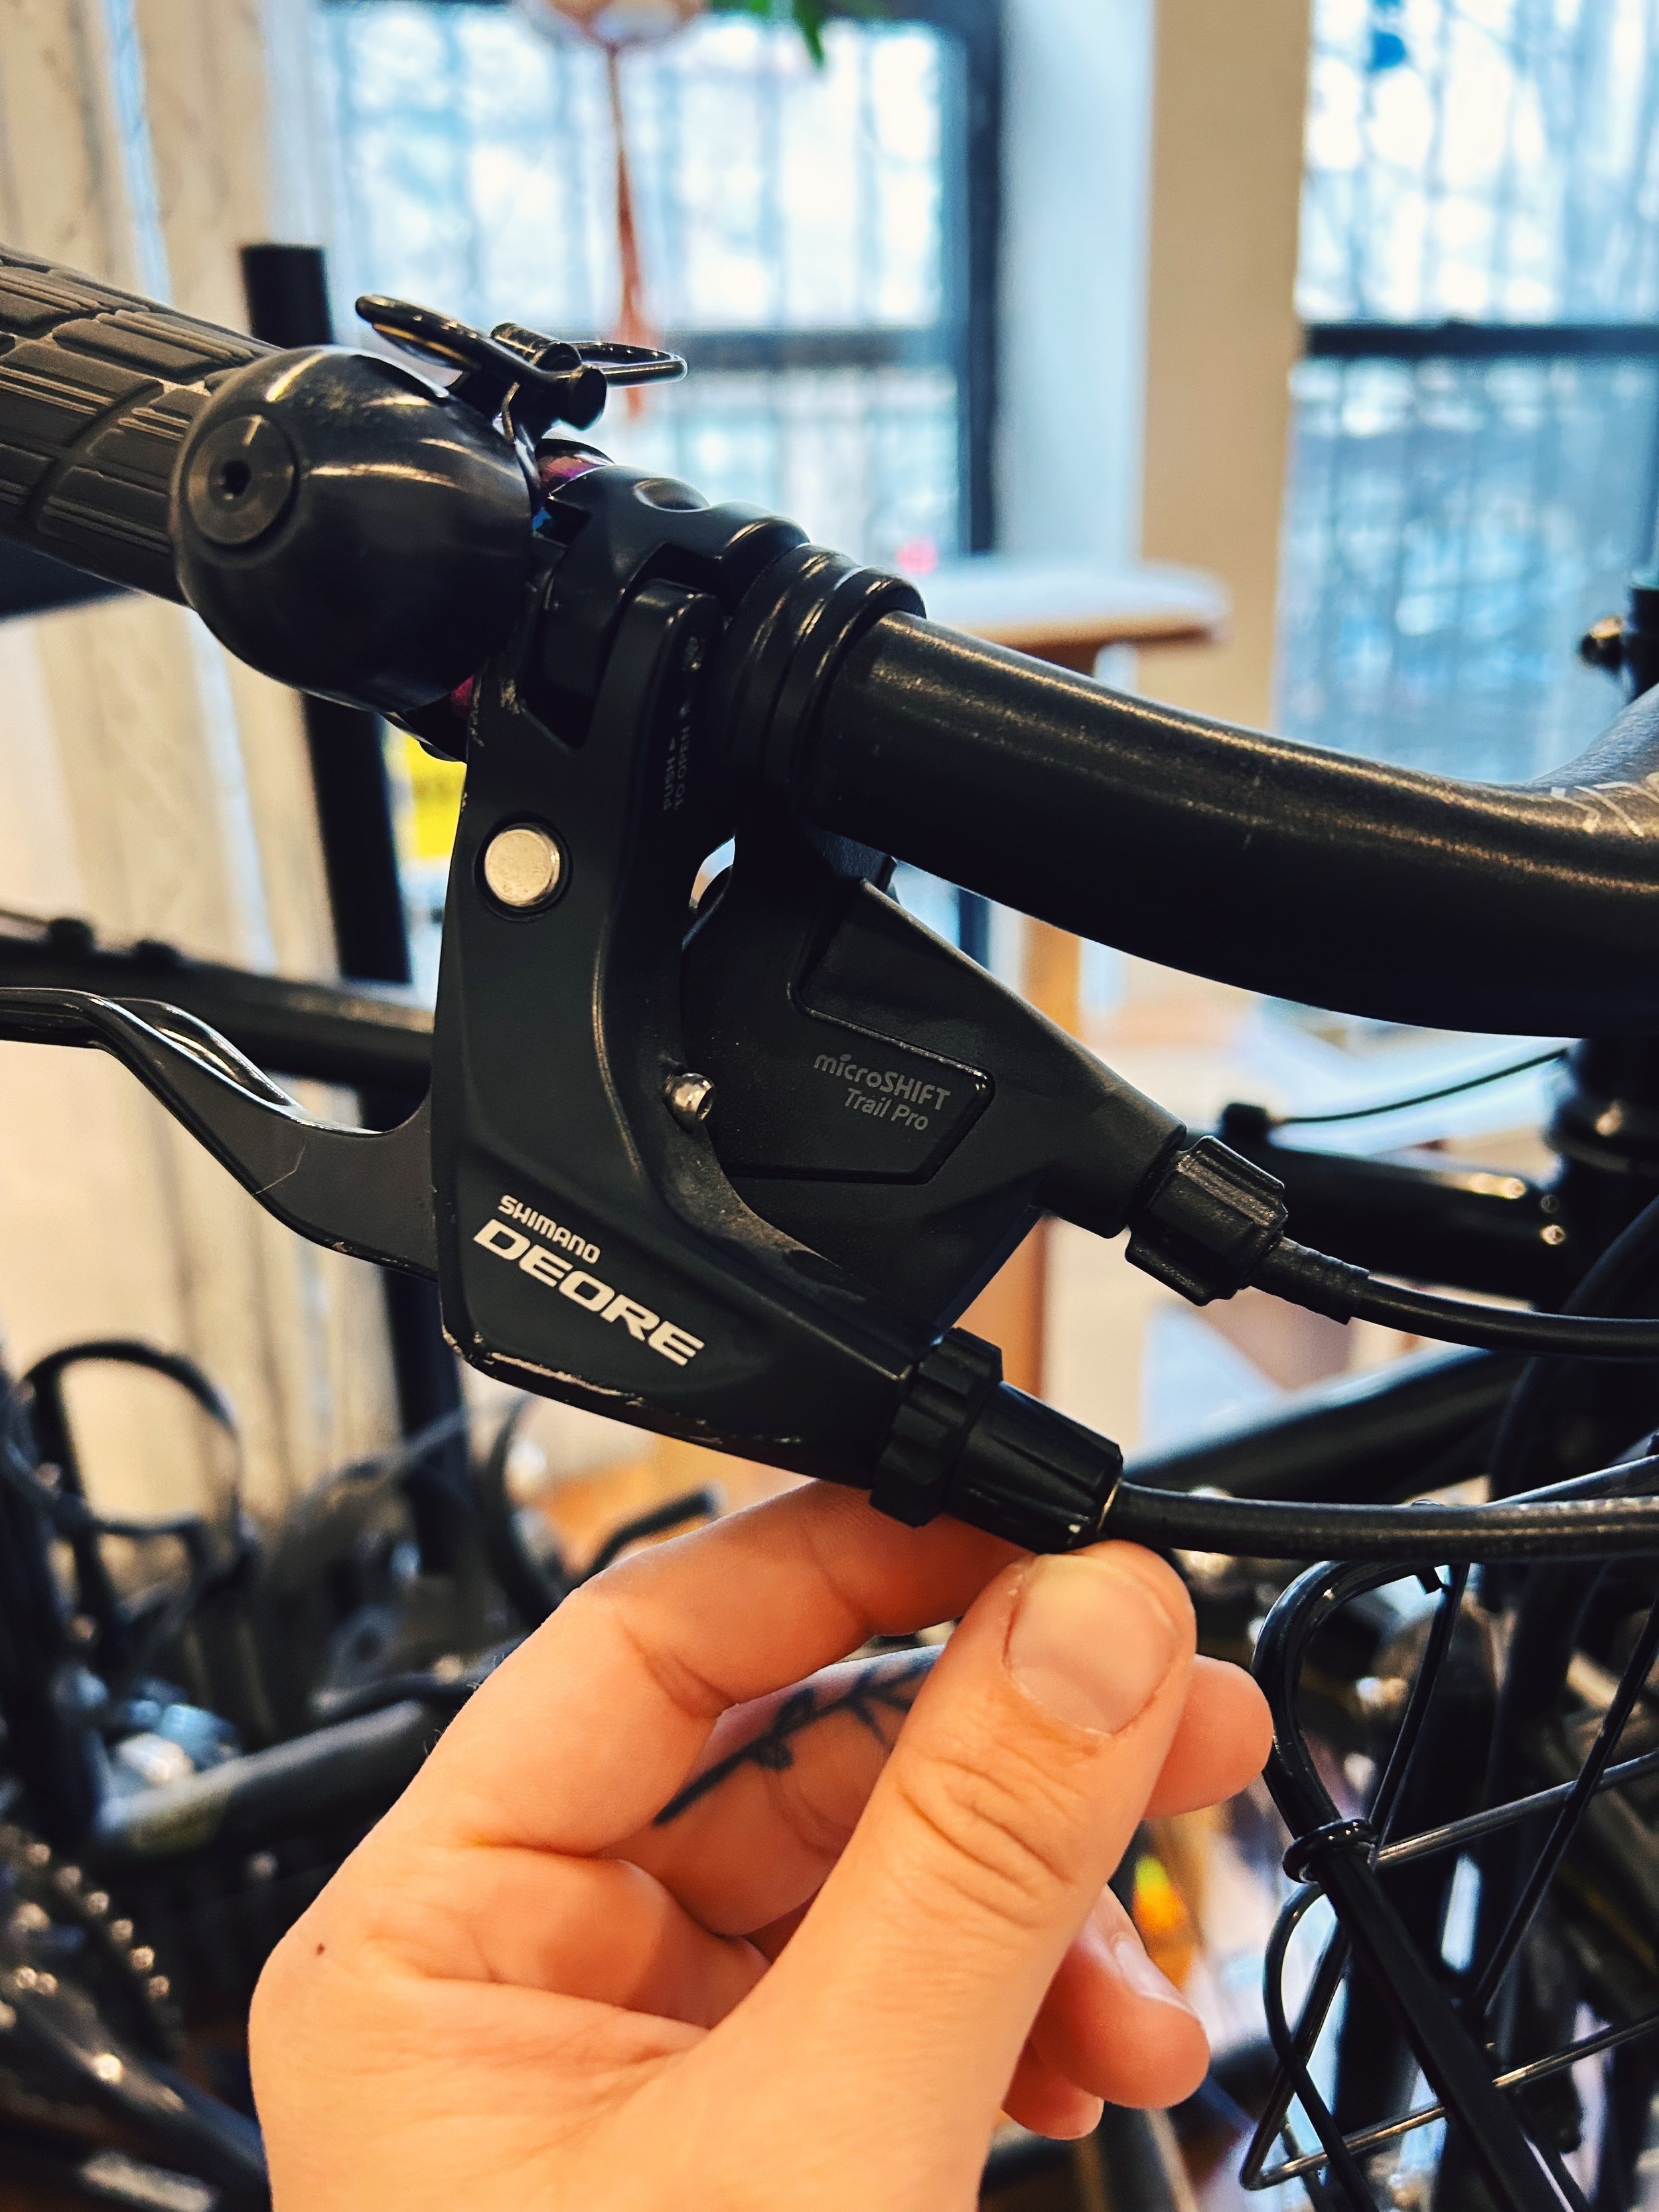
Armed with this incredibly limited knowledge, I made my way over to 718 Cyclery for the cables and a cable cutter. Joe had the appropriate brake cable for my Pack Rat and gear cable for my road bike, so I grabbed those and then had some help picking out a cable cutter. Joe noted the slightly high price tag of the Jagwire Pro Housing Cutter (~$40), but added that I’d probably end up saving at least that much money by changing these cables myself. And since I’m trying to keep up with teaching myself how to work on my bikes, it seemed like a good investment. While ringing me up, Joe gave me some tips and things to remember when replacing these cables, and was a good sport when I asked him for a photo for the blog, haha.


The parts were in hand so theoretically, there was nothing stopping me from starting on some of this work. Just my lack of knowledge on what the fuck I’m about to do. That’s where a few other resources came into play:
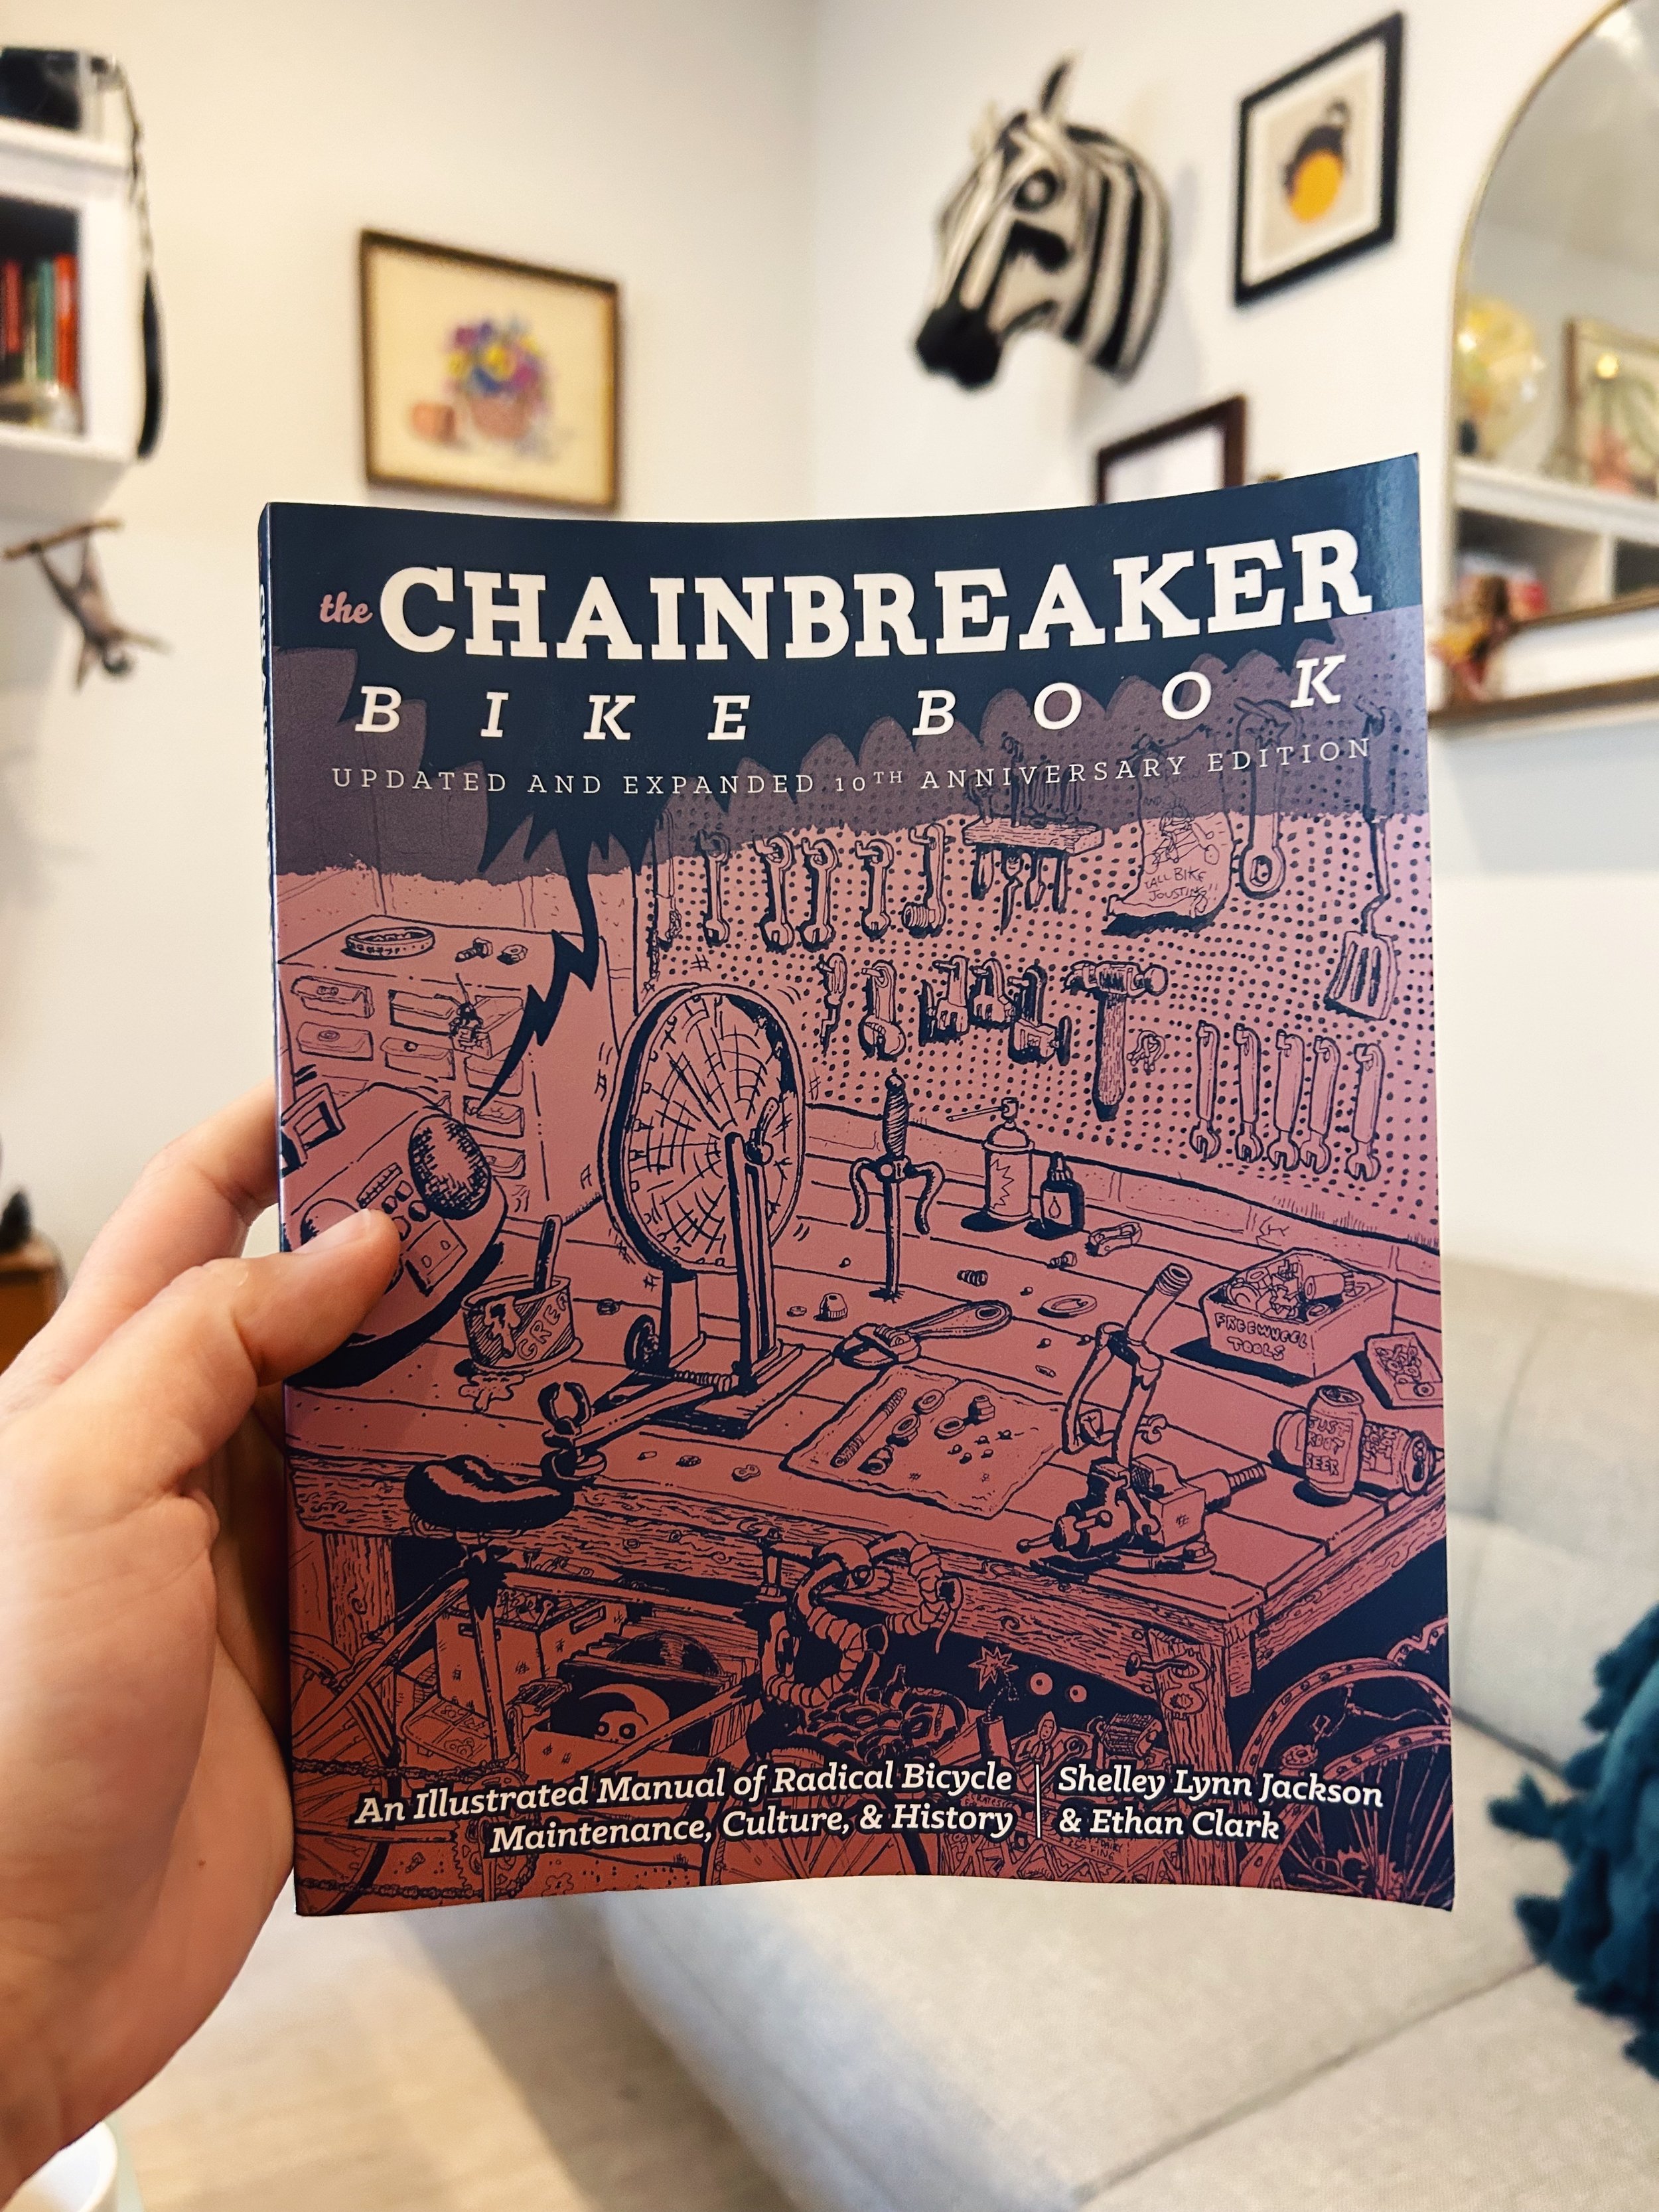
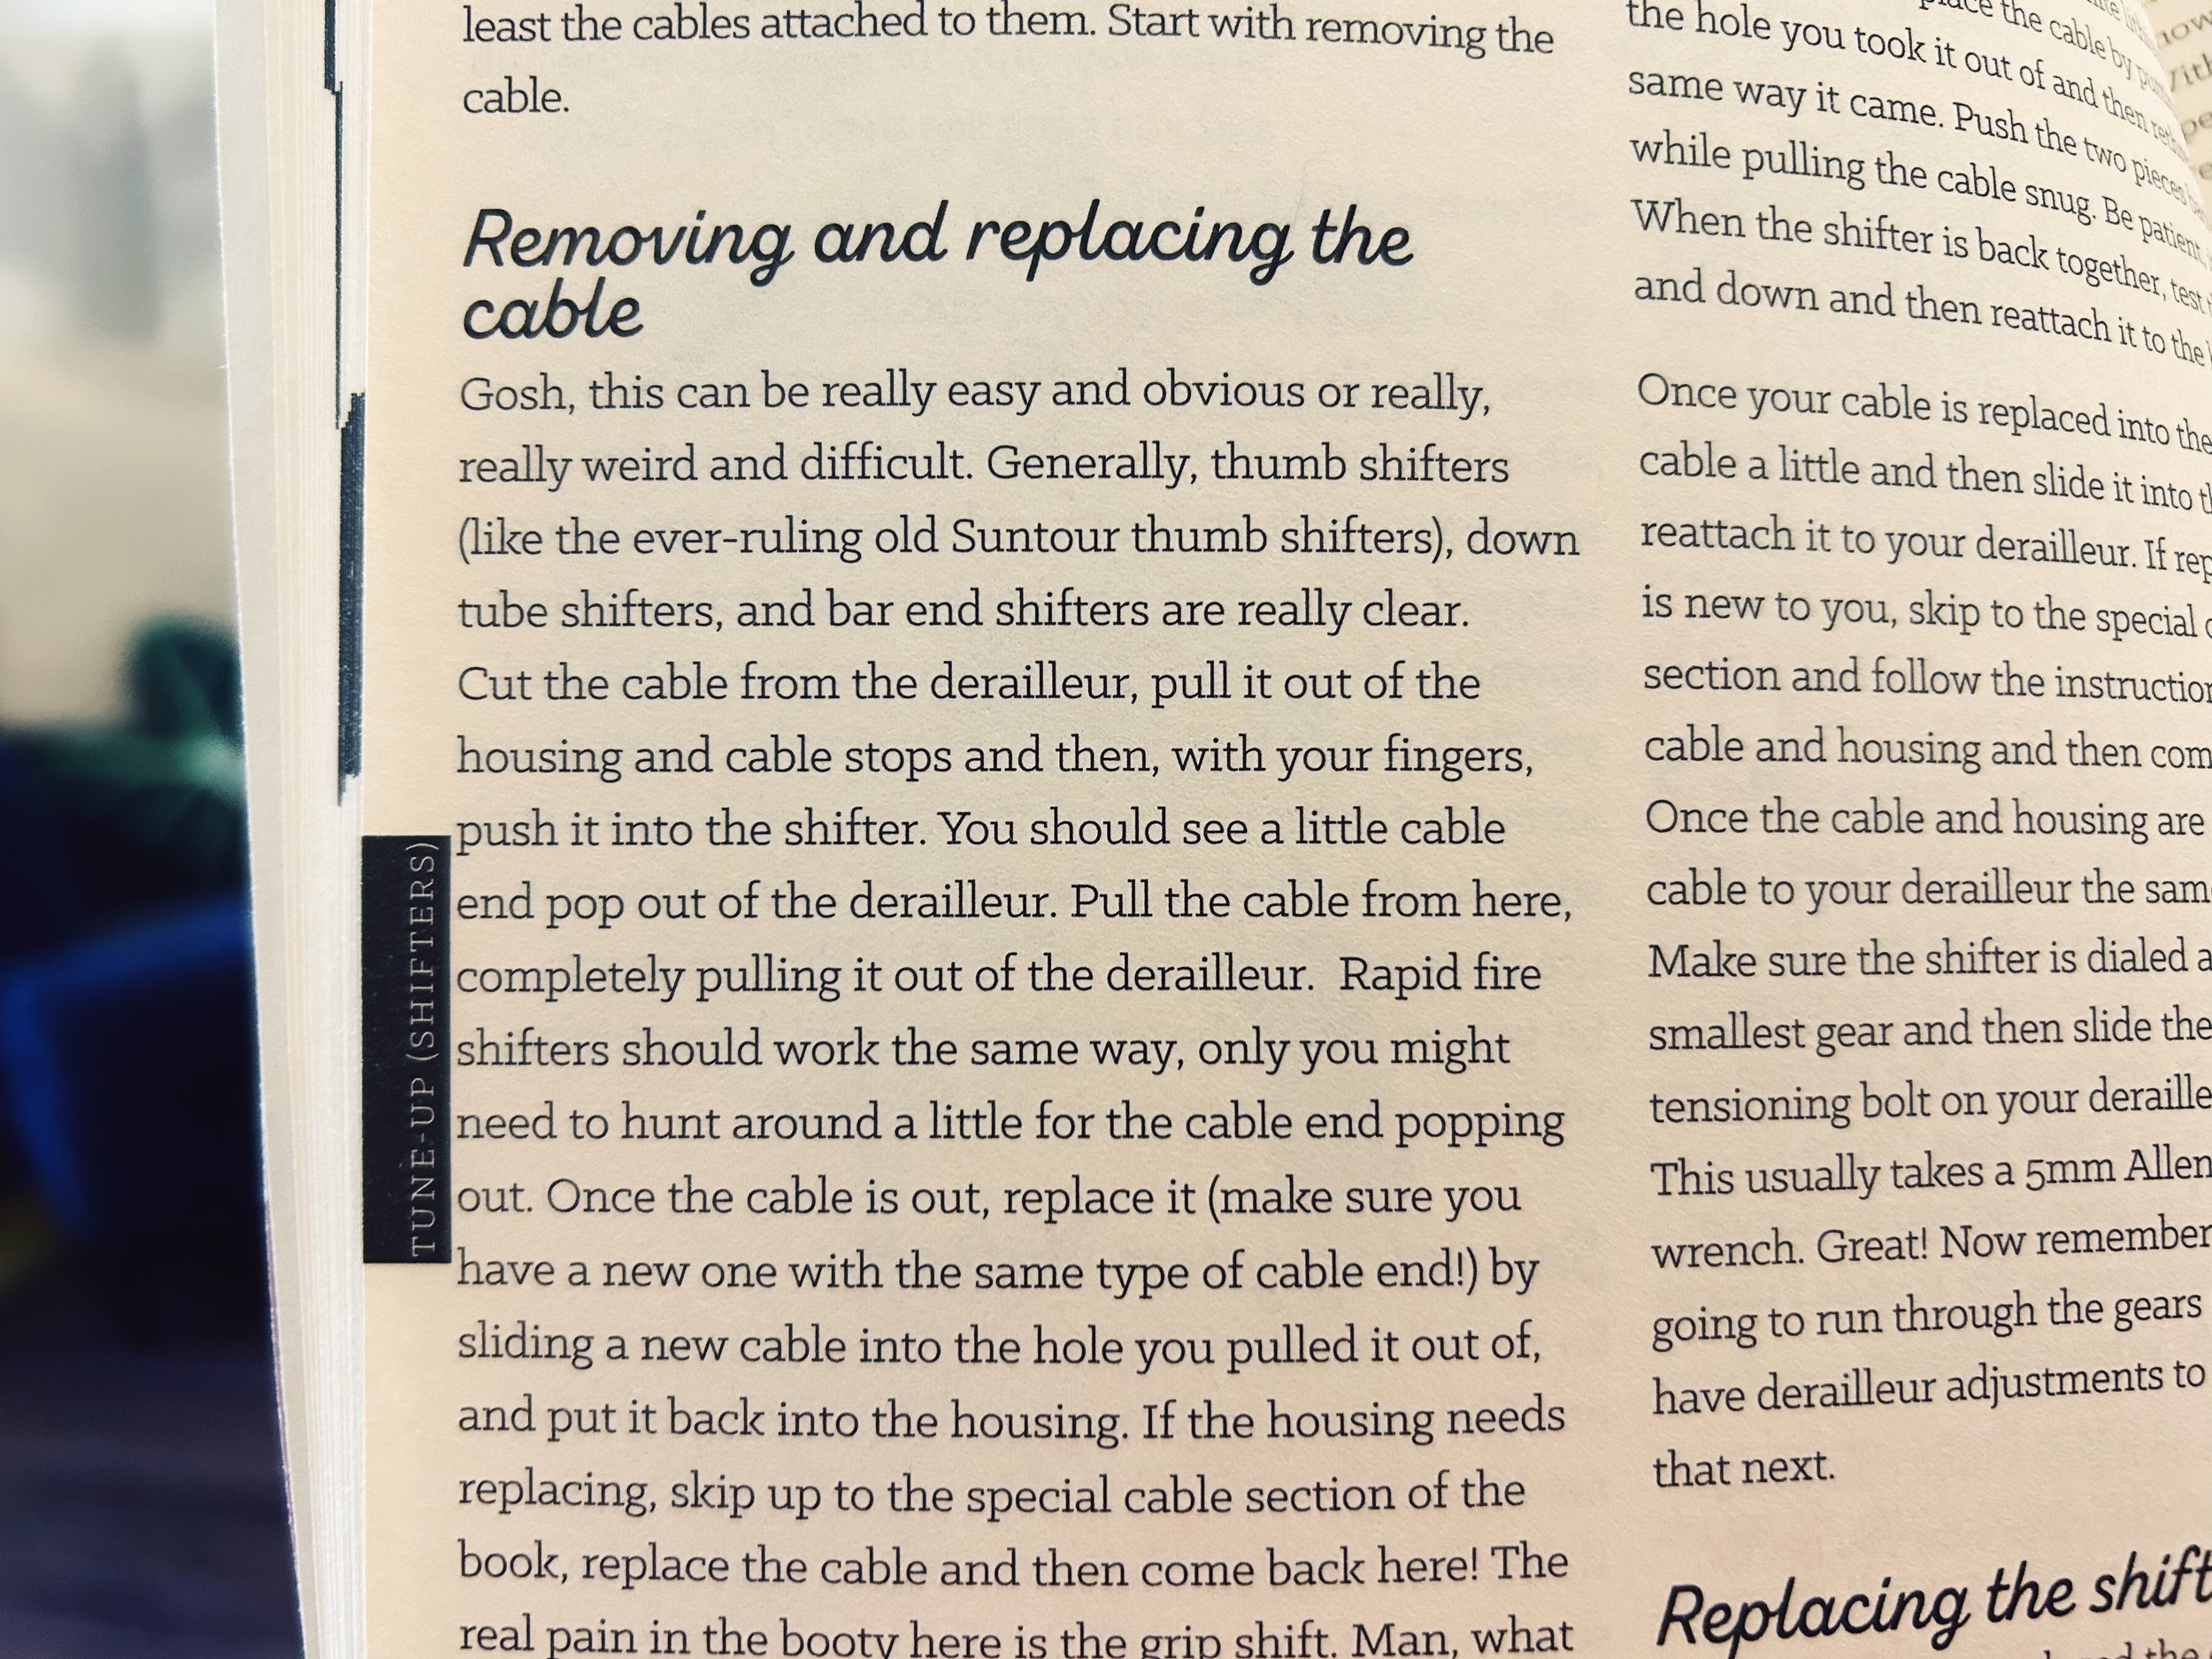
Chainbreakers Bike Book: A fun little overview of what to expect when replacing cables on your bicycle
YouTube: It was this eleven-year-old, four-minute video that made me realize I was definitely capable of replacing the brake cable myself.
Sheldon Brown: I checked out Sheldon Brown’s website for a little more insight and I’ll believe anything someone tells me when they look like this:
Source: SheldonBrown.com
Now the only thing stopping me was a lack of motivation. I forced myself to set up the Pack Rat on the stand in my living room as an annoying reminder of the work to be done (the same tactic I used when my road bike needed to be cleaned a few months ago - I left it in the way on purpose and it annoyed me so much that I got around to cleaning it much faster than I would have had it been out of sight). Some of you might be thinking, “But Sam, you have an entire bicycle room! Why are you working on your bikes in the living room all the time?!” I have asked myself the same question and rather than trying to uncover the reason behind this, I adapted to the situation by converting my old kitchen cart into a bicycle repair cart, which makes moving things between the living room and bike room that much easier!


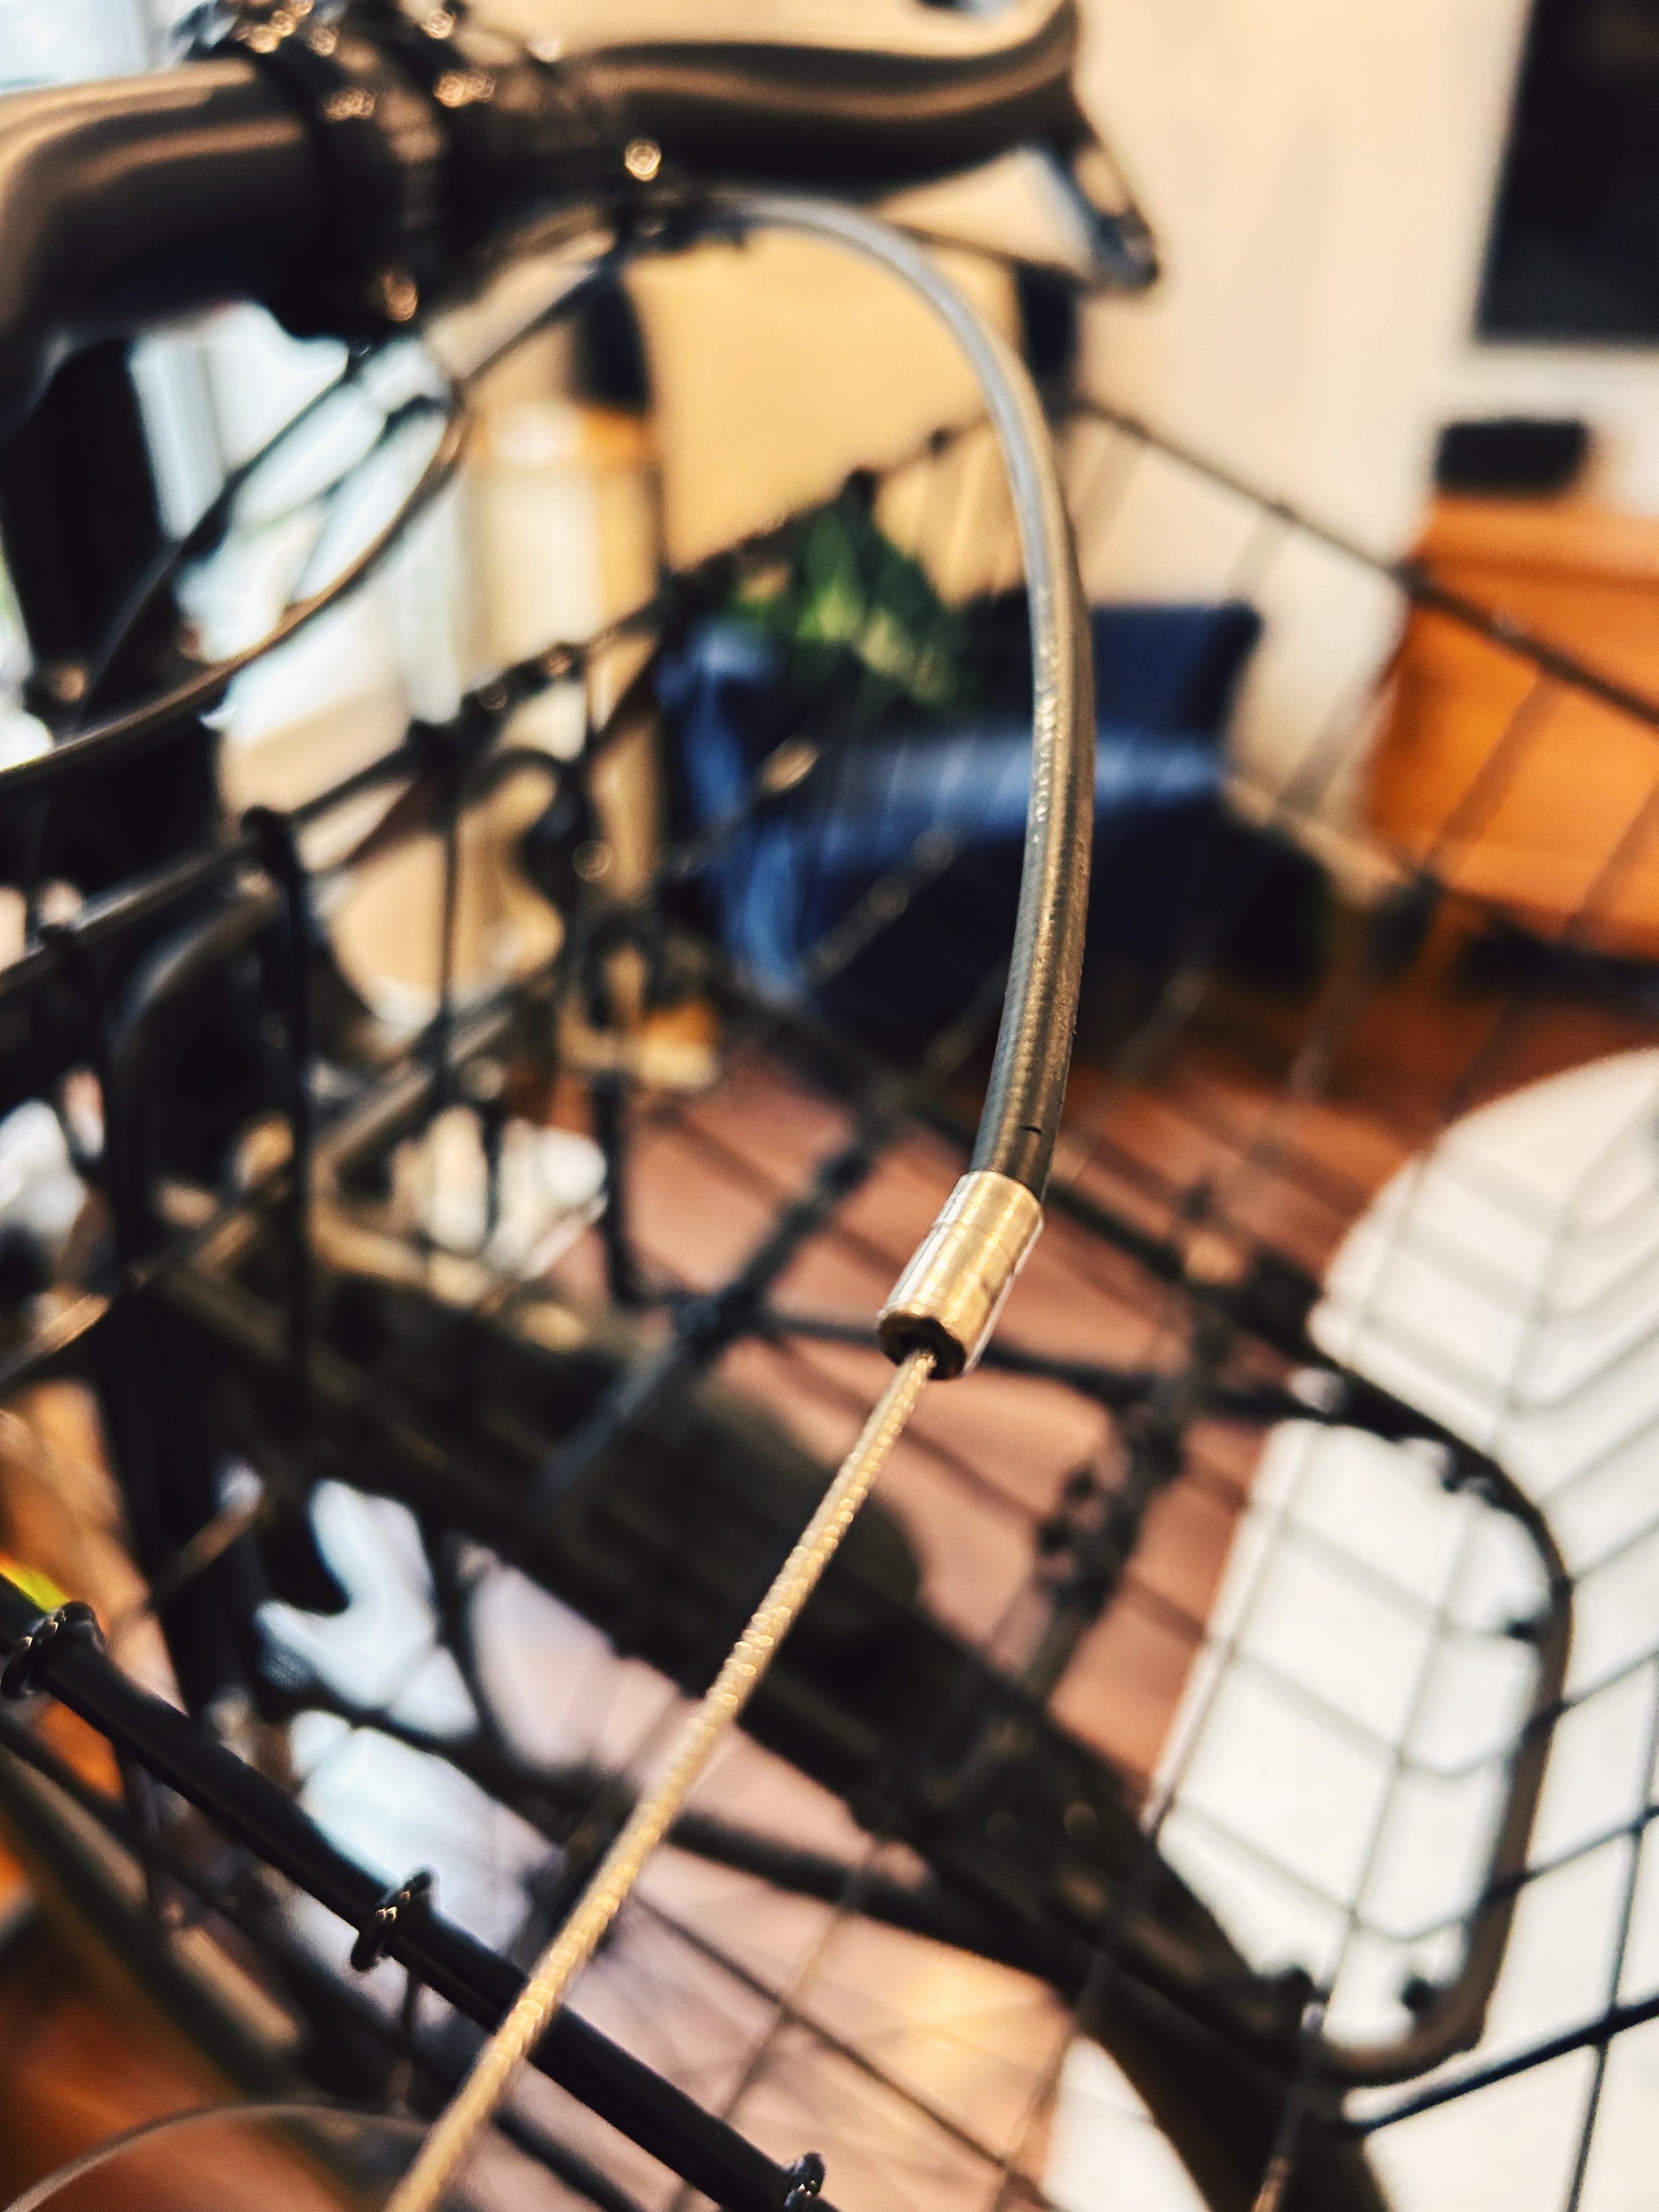
I was more concerned about the condition of my brake cable on this bike than the gear cable on my road bike, which is why I opted to try this repair first. We all know my disdain for the V brakes on this bike, but maybe this effort would lead to us finally developing a mutual respect for each other. Anyway, because of my constant struggles with these brakes and all of the adjustments I’ve tried to make over time, the cable ended up looking like this:


And maybe that isn’t the worst condition for a brake cable to be in, but I already have anxiety about these things, so let’s just play it safe and replace it. Joe said that it is typically worth replacing the cable housing when replacing the cables, but we agreed that baby steps are best for me and replacing JUST the cable would be a good first effort. After disconnecting the end of the cable at the bolt, I used my handy new cable cutters to cut the portion with the cable end cap so I could remove the rubber boot and noodle.

Source: Bike Boo Boos
After that, I messed around with the barrel adjuster in order to line up a small opening with the opening on the brake lever, where the head of the cable sits. From there, it was easy to begin removing the old cable, and I took note of the locations of all the ferrules and little rubber chain protectors along the cable.


With the old cable out, it was easy to feed the new one into place, especially since the existing housing was still there. Martin enjoyed this part of the process in particular.
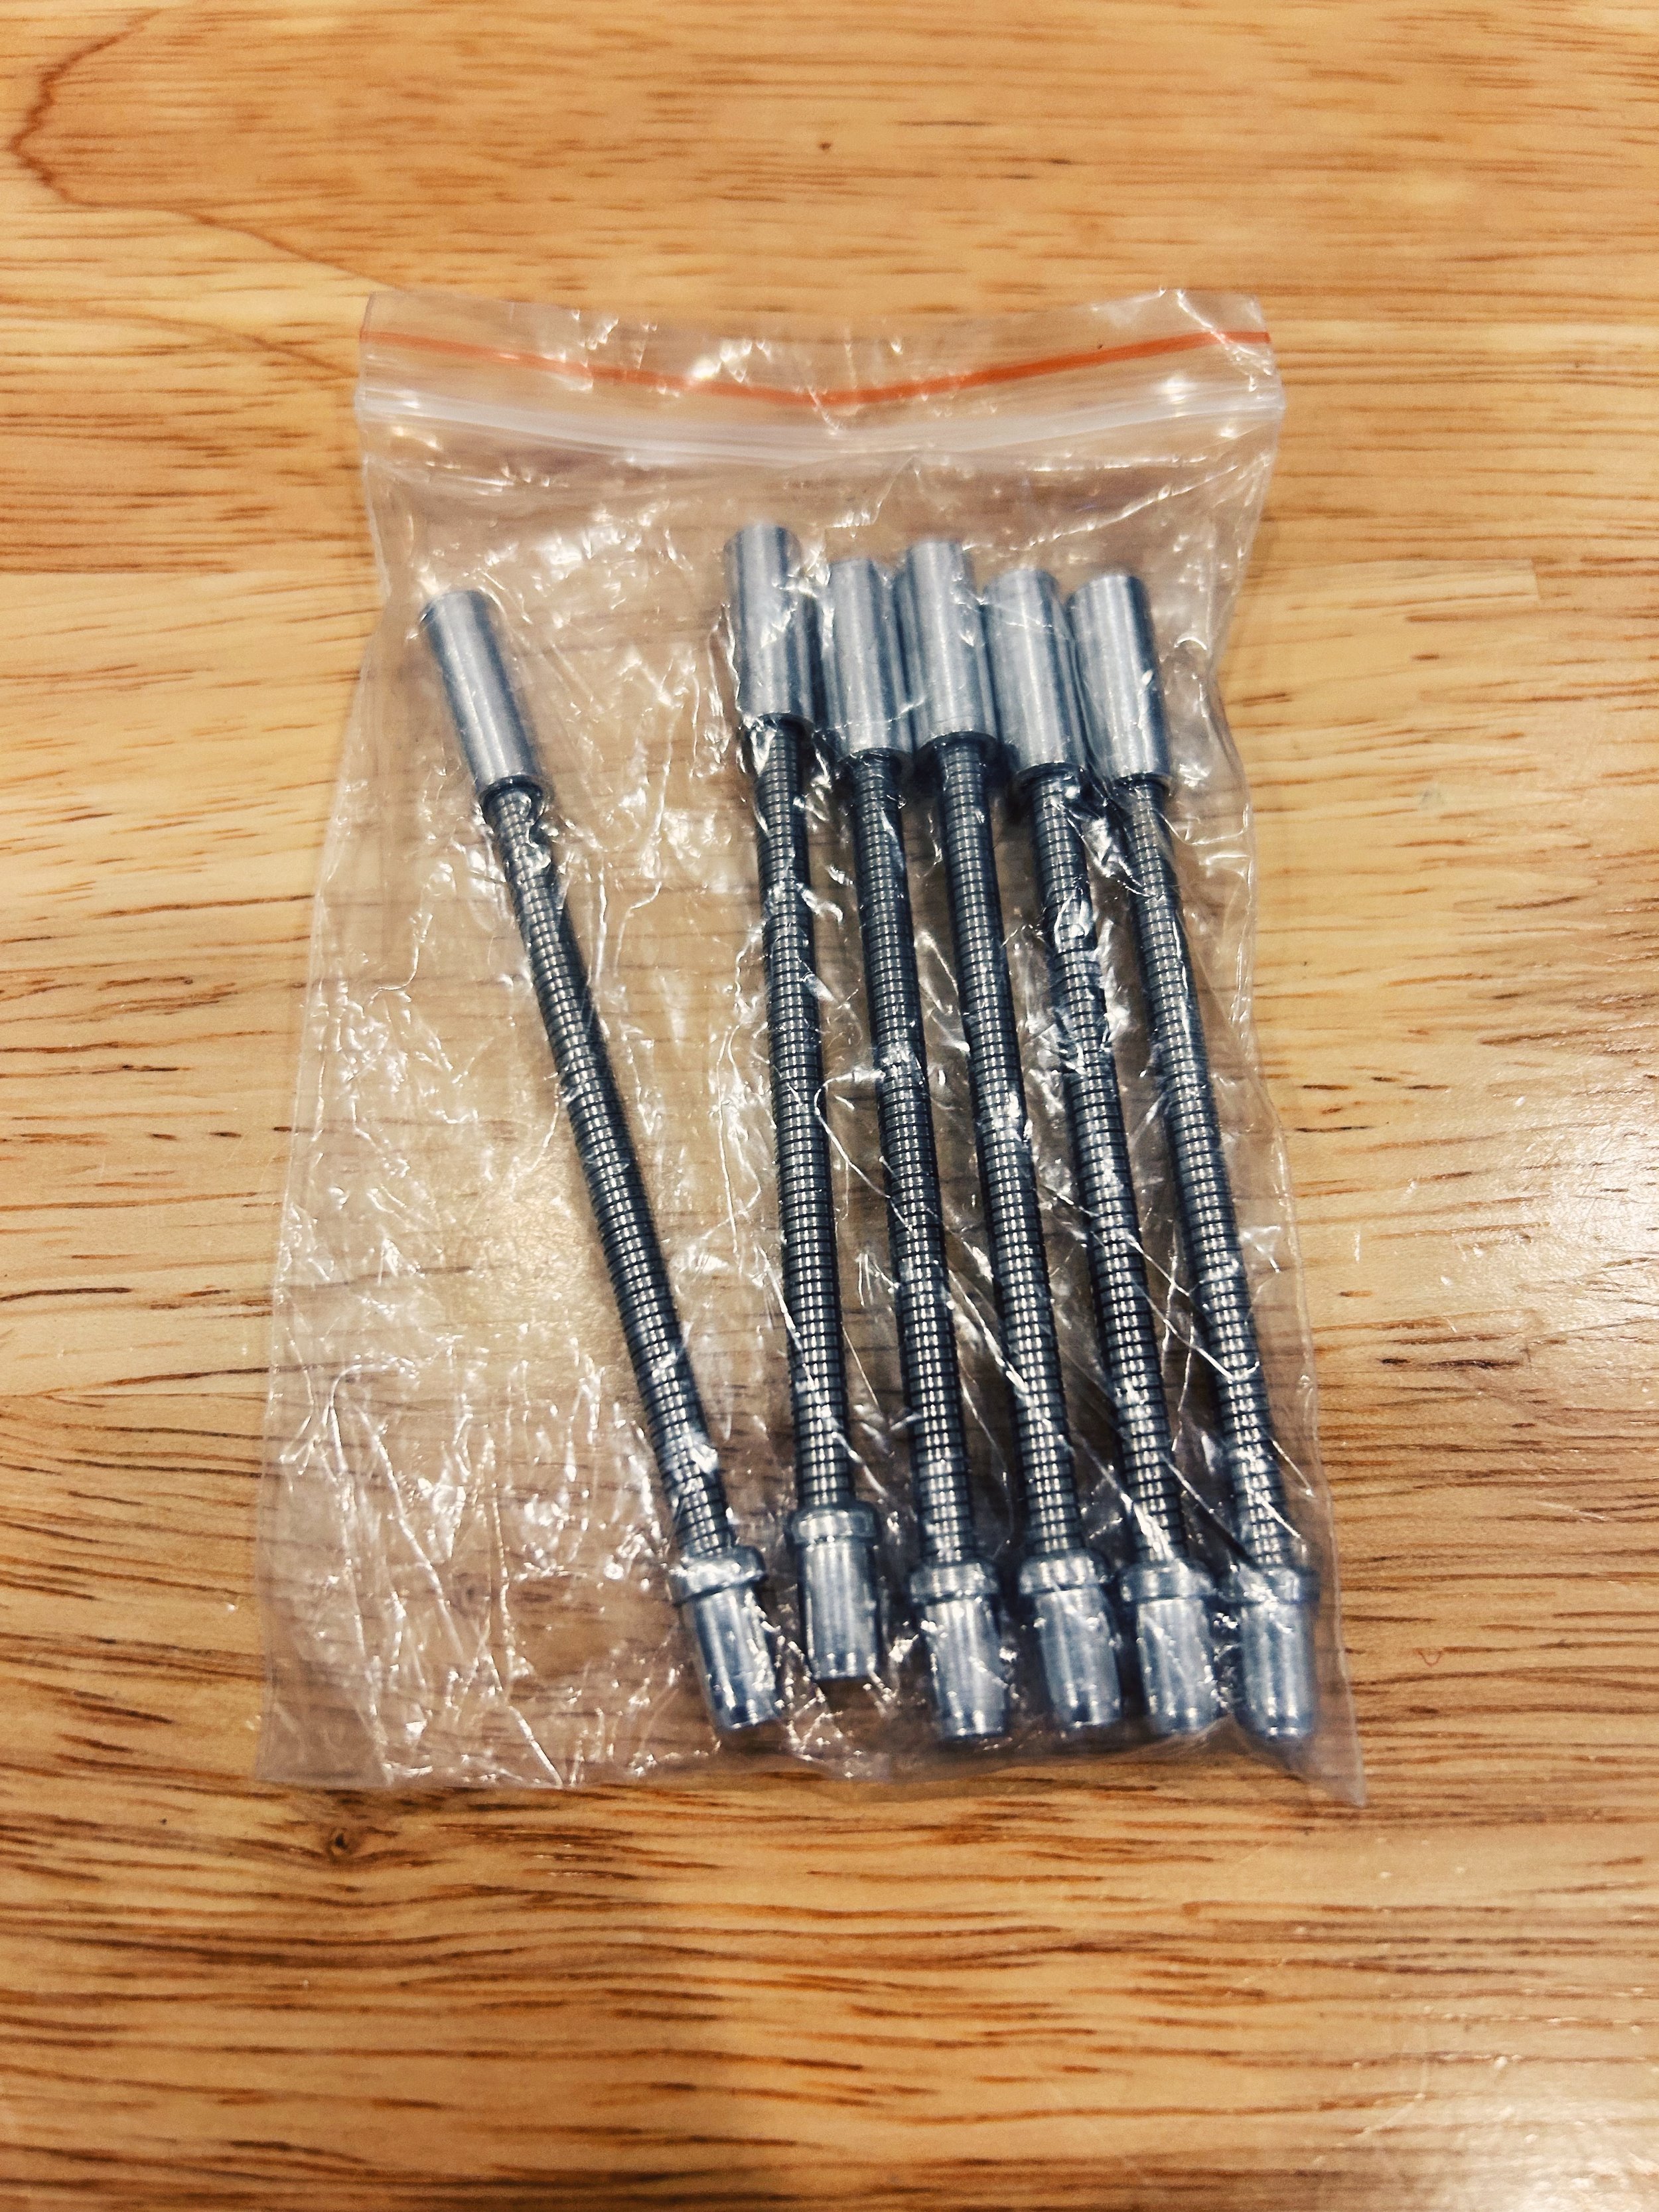
After feeding in the new cable, I noticed that I did not like the condition of the existing noodle on the rear brake. Fortunately, I remembered ordering flexible noodles during my various attempts to install the Surly 8 Pack Rack on my bike, and was able to replace the old noodle with a new one. The new flexible noodles wound up having a larger ferrule than the existing one, so I would up taking apart the old noodle and installing the smaller ferrule onto the new flexible noodle (***I don’t know if I’m using the right terminology for all of these tiny parts, so bear with me).


After that, it was just a matter of adjusting the cable before cutting the excess length. Before I went to trim the cable, I took a good look at the housing running from the top tube of the bike to the seat stays - this housing tends to get in my way when riding and I usually have it zip tied to the seat tube to keep the excess out of the way. Sheldon Brown to the rescue again! I decided to try and shorten this part of the housing myself and fortunately, I was conservative in the trimming because I wound up having a lot of trouble getting a clean cut on the cable housing. In the end, it seems to have worked out and this part of the brake cable is now out of the way of my thicc thighs.


I spent too much time trying to adjust the cable length when securing it back into the cable clamp bolt, but once everything looked right, I used the two finger trick that Joe taught me to leave enough excess cable length before putting the cable end cap in place.


And since these brakes are ALWAYS GIVING ME A HARD TIME (or maybe I’m giving them the hard time at this point), I really committed to the adjustments and turned my attention to the brake pads, that seemed slightly misaligned.
It was also the first time I’ve adjusted brake pads but I got my act together enough to get them more aligned with the rim and made sure they were evenly spaced on either side of the tire. I think these V brakes and I are finally coming to a mutual understanding.
Shout out to Redbeard Bikes for the shop apron they gave me when they were moving out of their old space a few months ago (and to Kasia and Ilya for always being supportive of my blog)!
While I’m over here patting myself on the back so hard that I’m exacerbating my existing injury, it’s too premature to celebrate my success since there hasn’t been a test ride yet; the closing sentiment from my last post should still be remembered.

